

Reviews: The Omega Book #1 and Bludwire #2
From Mad Cave Studios

A new series begins with The Omega Book #1, and Bludwire #2 continues the story of romance, robots and rebellion from Mad Cave Studios.
The Omega Book #1
The Omega Book has the secrets of the universe in it. All of them. And the priest Brady Parsons has just inherited pages of it from his father.
But now, everyone wants that knowledge, they’ll do anything to get it, and if the book falls into the wrong hands it will end the world. No, the universe.
To stop that from happening, Brady enters a world of science and mystery he never imagined, he’ll see and do things that nobody has ever seen or done, and he’ll uncover the truth about the amazing things the Omega Book can do, its origins and even about the father he’s hated his whole life.
Author: James Patrick
Artist: Pauli Junquera
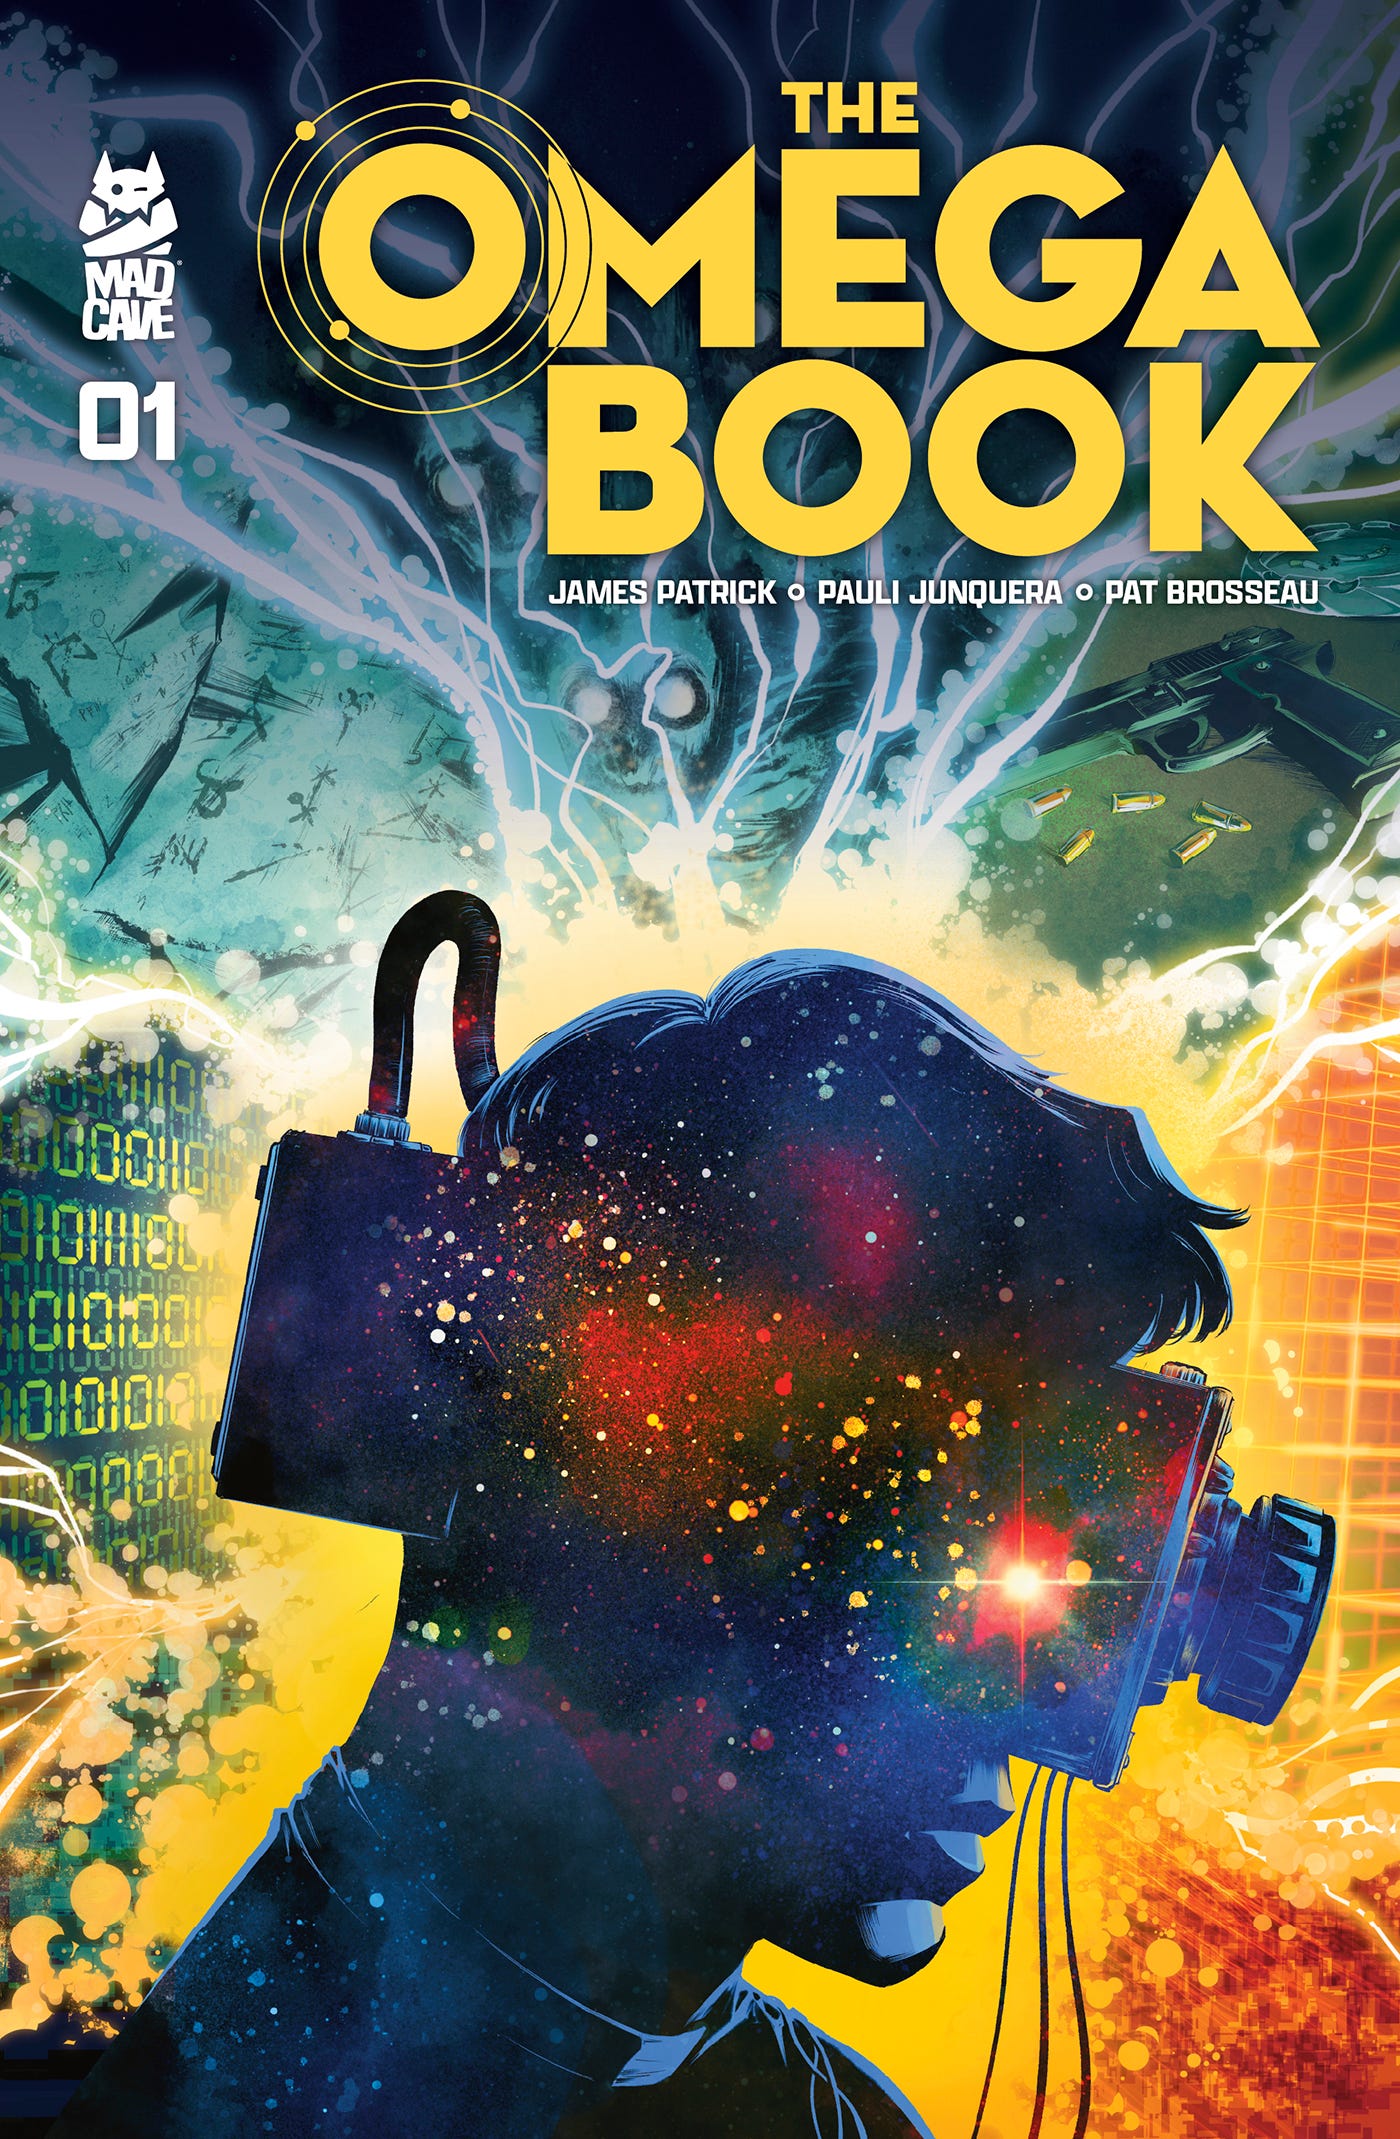
The Omega Book #1 is a remarkably clever opening issue that wastes no time in drawing the reader into its mystery. It begins with an introduction and a shocking death, but rather than simply following those events, the story quickly shifts perspective to the son. Making him a priest rather than a scientist is an inspired decision, as it immediately creates an interesting conflict between faith and the impossible discoveries that begin to unfold before him. His perspective grounds the story, even as everything around him becomes increasingly extraordinary.
Running alongside the main narrative is a mysterious commentary that reveals just enough information to keep you intrigued without giving too much away. It not only hints at the immediate danger facing the characters but also expands the scope of the story, suggesting that what we are witnessing is only a small part of something far greater. It is an excellent storytelling device that builds anticipation while steadily laying the foundations for what promises to be a sprawling science-fiction epic.
The issue is packed with imaginative sci-fi concepts and exciting action. The technology on display feels wonderfully inventive, balancing awe-inspiring ideas with an underlying sense of unease. As events unfold across different points in time, dimensions and even space itself, the narrative remains surprisingly easy to follow while continually expanding its ambitions.
The artwork plays a huge part in making all of this work. The artists capture both the quieter emotional moments and the large-scale science-fiction spectacle with equal confidence. Every environment feels distinct, while the visual effects surrounding the advanced technology and dimensional shifts are striking without becoming overwhelming. The colouring deserves particular praise for helping establish the atmosphere, whether it’s moments of quiet reflection or scenes filled with cosmic chaos and danger.
The mythology surrounding the Omega Book itself is another highlight. We only receive fragments of information about what it contains and why it is so important, but those glimpses are enough to make it feel like an object of incredible significance. Rather than explaining everything immediately, the creative team allows the mystery to grow naturally, making each new revelation feel meaningful. The forces hunting the book are equally compelling. Their motivations remain largely unknown, but their methods are unsettling, inventive and undeniably lethal, making them an immediate and believable threat.
Perhaps the strongest element, however, is the journey of the son. His entire belief system is challenged within the space of a single issue, forcing him to confront events that simply cannot be explained through the life he has known. Watching his certainty unravel while he struggles to make sense of the impossible makes him an engaging protagonist, and by the time the issue reaches its cliffhanger, it is impossible not to wonder where his journey will take him next.
Overall, this is an outstanding debut issue that perfectly balances mystery, science fiction, philosophy and action. It introduces fascinating ideas without becoming inaccessible, builds an intriguing mythology around the Omega Book itself, and delivers spectacular artwork that elevates every page. By the final cliffhanger, it has established an exciting premise and left me eager to discover what lies ahead.
Get The Omega Book #1 at Forbidden Planet:
Bludwire #2
Ace and Zora thought they could disappear into a crowd. So their corporate hunters turned the crowd into a battlefield.
Anyone near them is collateral damage. Any act of mercy is a liability. And there’s nowhere left to run… except towards each other.
The chase gets louder, the choices get harder, and the past tightens its grip in the incredible second issue of this high-octane love story for the ages.
Author: Paul Allor
Artists: Victor Ibanez, and Ermitis Blanco
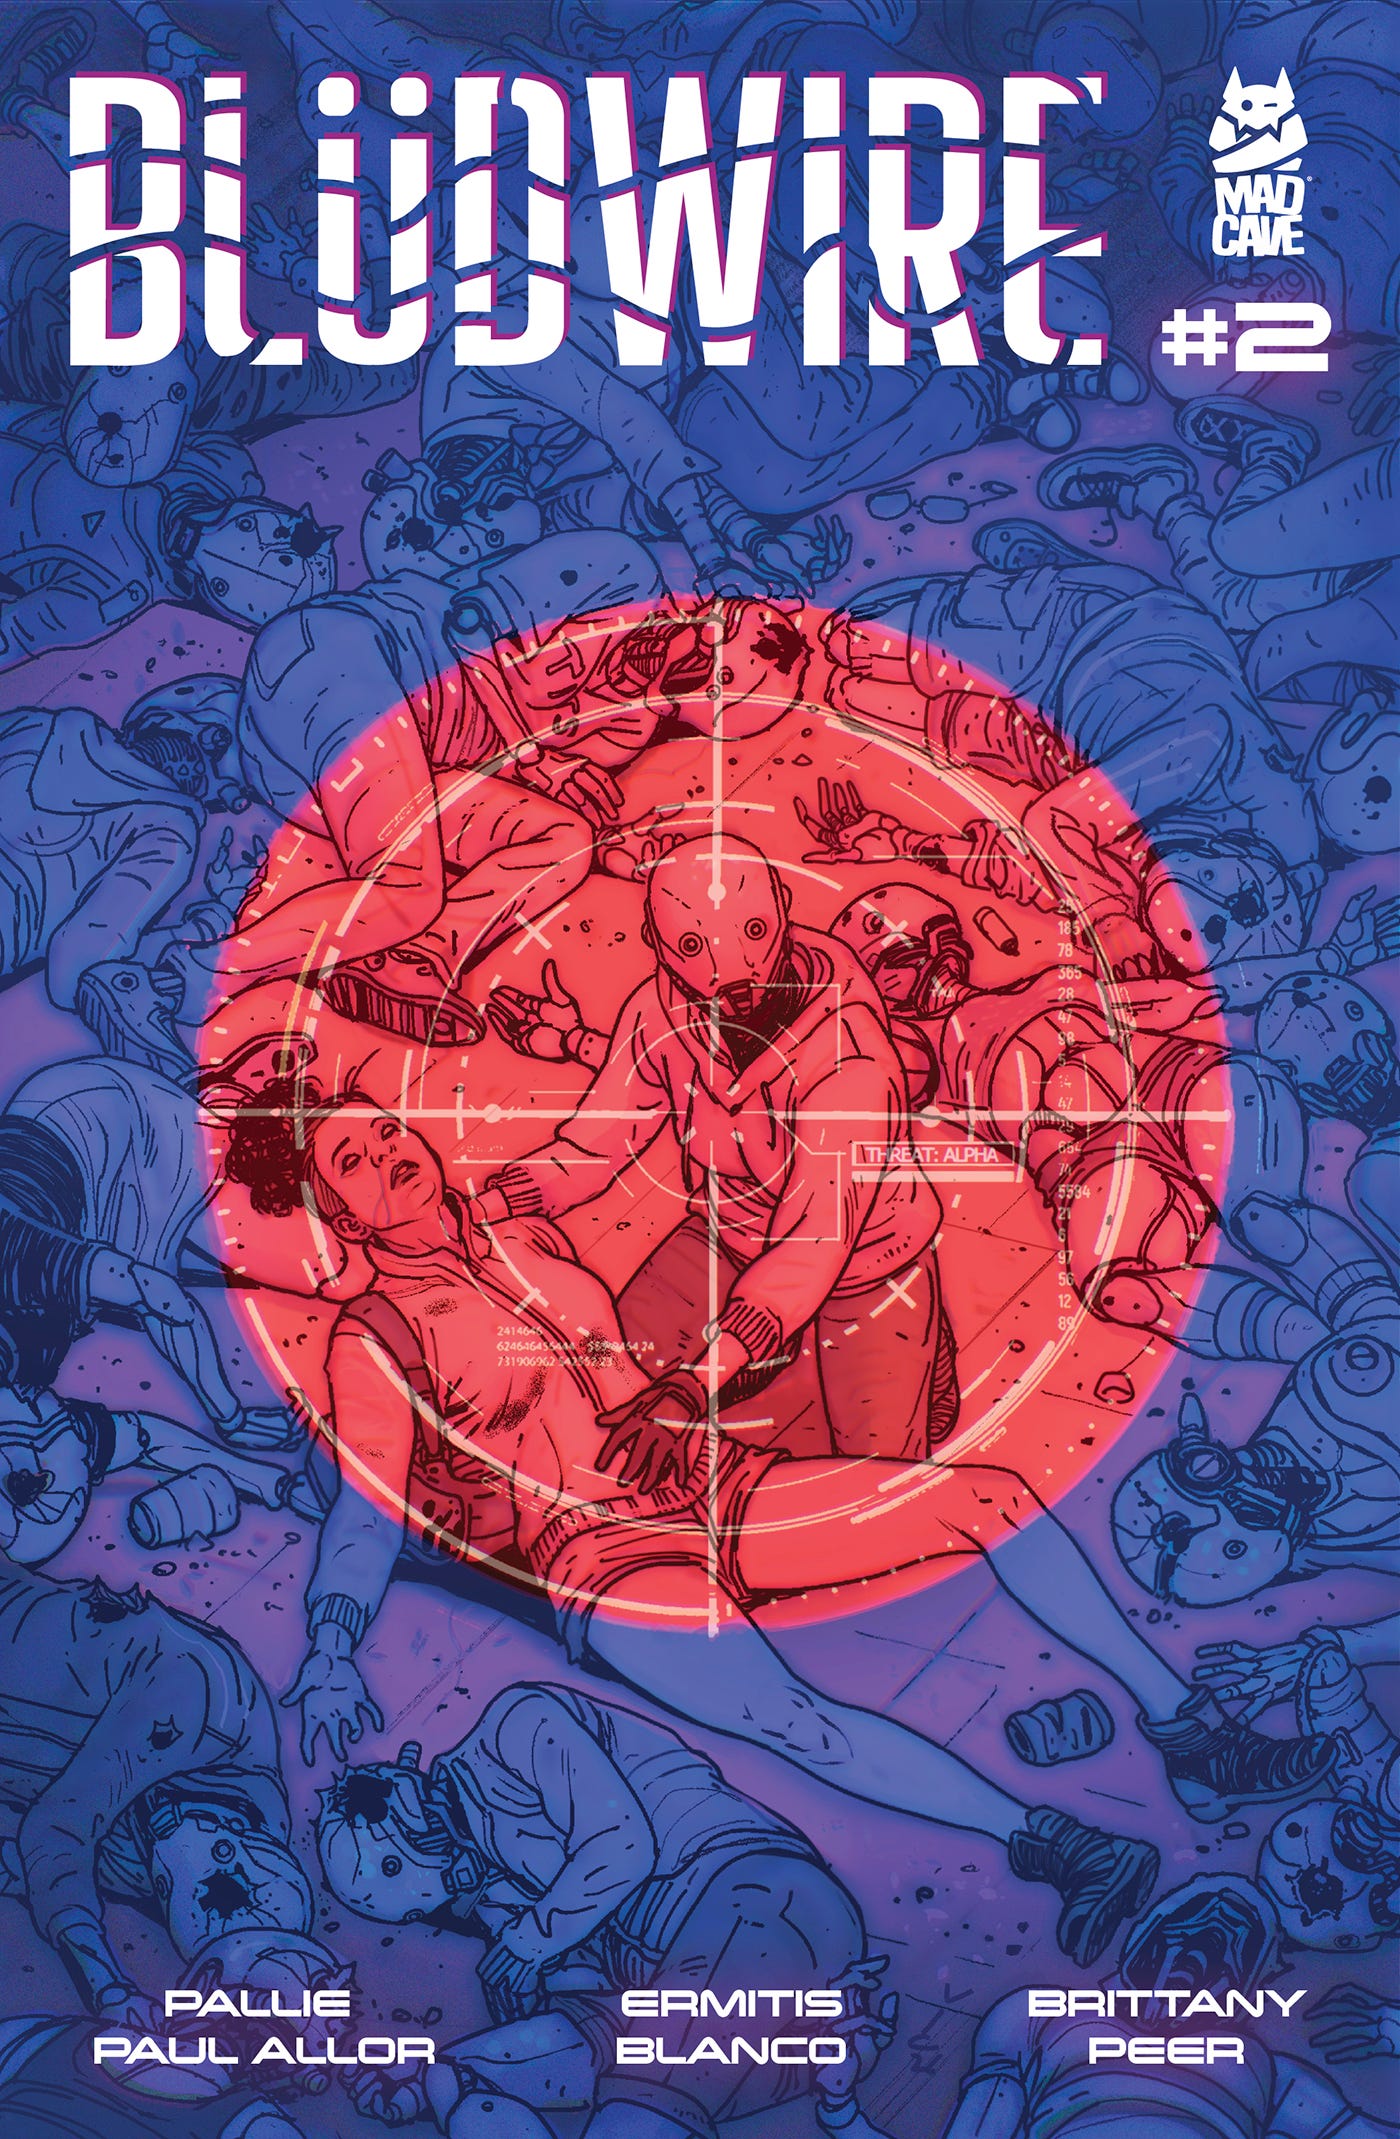
Following the strong introduction in the previous issue, Bludwire #2 immediately shifts the story into a much higher gear. With the world and its core concepts already established, this issue is able to focus on the action and character development, resulting in a much faster pace that keeps the momentum going from beginning to end.
Ace and Zora are on the run, attempting to escape with the information they have uncovered, but they quickly discover that danger is coming from every direction. Both humans and robots are pursuing them, creating a constant sense of pressure that rarely lets up. The chase sequences are well handled, balancing frantic action with quieter moments that allow the story to breathe. We are also introduced to some of the figures orchestrating the hunt, and while they remain mysterious, they already feel like formidable opponents.
One small detail that particularly stood out was the use of the asthma inhaler. It may seem like an insignificant moment on the surface, but it feels far too deliberate to be a throwaway inclusion. Whether it becomes an important plot point later or helps explain a character’s motivations, it certainly caught my attention and suggests there is more to be revealed as the series progresses.
This issue also spends more time developing Ace and Zora as individuals. Beyond simply surviving together, we begin to understand what makes them tick and why they work as a team. Their personalities complement each other in some ways while clashing in others, creating a relationship that feels believable rather than forced. As more of their backgrounds and motivations come to light, it becomes easier to invest in both characters and the difficult situation they find themselves in. Their interactions provide some welcome emotional depth alongside the high-octane action.
The escape itself is full of twists, setbacks and moments where quick thinking makes all the difference. It isn’t simply a case of running from one firefight to the next, as Ace and Zora have to rely on planning, improvisation and a fair amount of luck to stay one step ahead of their pursuers. Every victory feels temporary, reinforcing the idea that their problems are only becoming larger and more dangerous. That growing tension pays off brilliantly with the issue’s closing reveal, which not only raises the stakes but also adds an intriguing new layer to the relationship between the two leads. It’s an effective cliffhanger that leaves plenty to think about before the next instalment.
The artwork continues to be one of the book’s biggest strengths. The variety in the robot designs helps make the futuristic world feel lived in, while the human characters all have their own distinct appearances and expressions. Every page is packed with detail, whether it’s the sprawling environments, the technology or the chaotic action scenes. Even in the busiest panels, the storytelling remains clear, allowing the reader to appreciate just how much work has gone into bringing this world to life. The colouring also deserves praise, adding atmosphere and energy to both the quieter character moments and the explosive action sequences.
Overall, Bludwire #2 builds impressively on the foundation laid by the first issue. It increases the pace, expands the world, develops its central characters and delivers another compelling mystery, all while maintaining stunning artwork throughout. With an exciting final reveal and plenty of unanswered questions, the series continues to be one that I’m looking forward to following.
